01. Installing Obsidian
- Download it here https://obsidian.md/
02. Create a vault
What is a vault?
- A vault is essentially a single Obsidian instance.
- You can have multiple vaults, and they don’t talk to each other - they’re separate.
- Each vault can be set up differently, e.g., different aesthetic theme, etc
- The “common wisdom” is that you should only have 1 Obsidian vault. I have recently decided that this is totally wrong! I have:
- A new one for my contractor job
- One called “2025” which is kind of a chaotic dump
- One for this website
- Etc
- I think separation of concerns is very nice for reduced cognitive load)
- You can have a different theme for each vault, so you automatically know where you are. I find this to be very nice
- However, for the purposes of this guide, we’re just making one vault
Ok so, a fresh vault
- Tada, here’s a fresh vault
- As you can see, it’s very plain looking.
03. Choosing a theme
-
I’d recommend choosing a nice theme!
-
Unlike the website front-end (Quartz), where I don’t care about the theme, I think the Obsidian desktop theme matters, because it’s what you’ll be looking at as you write
-
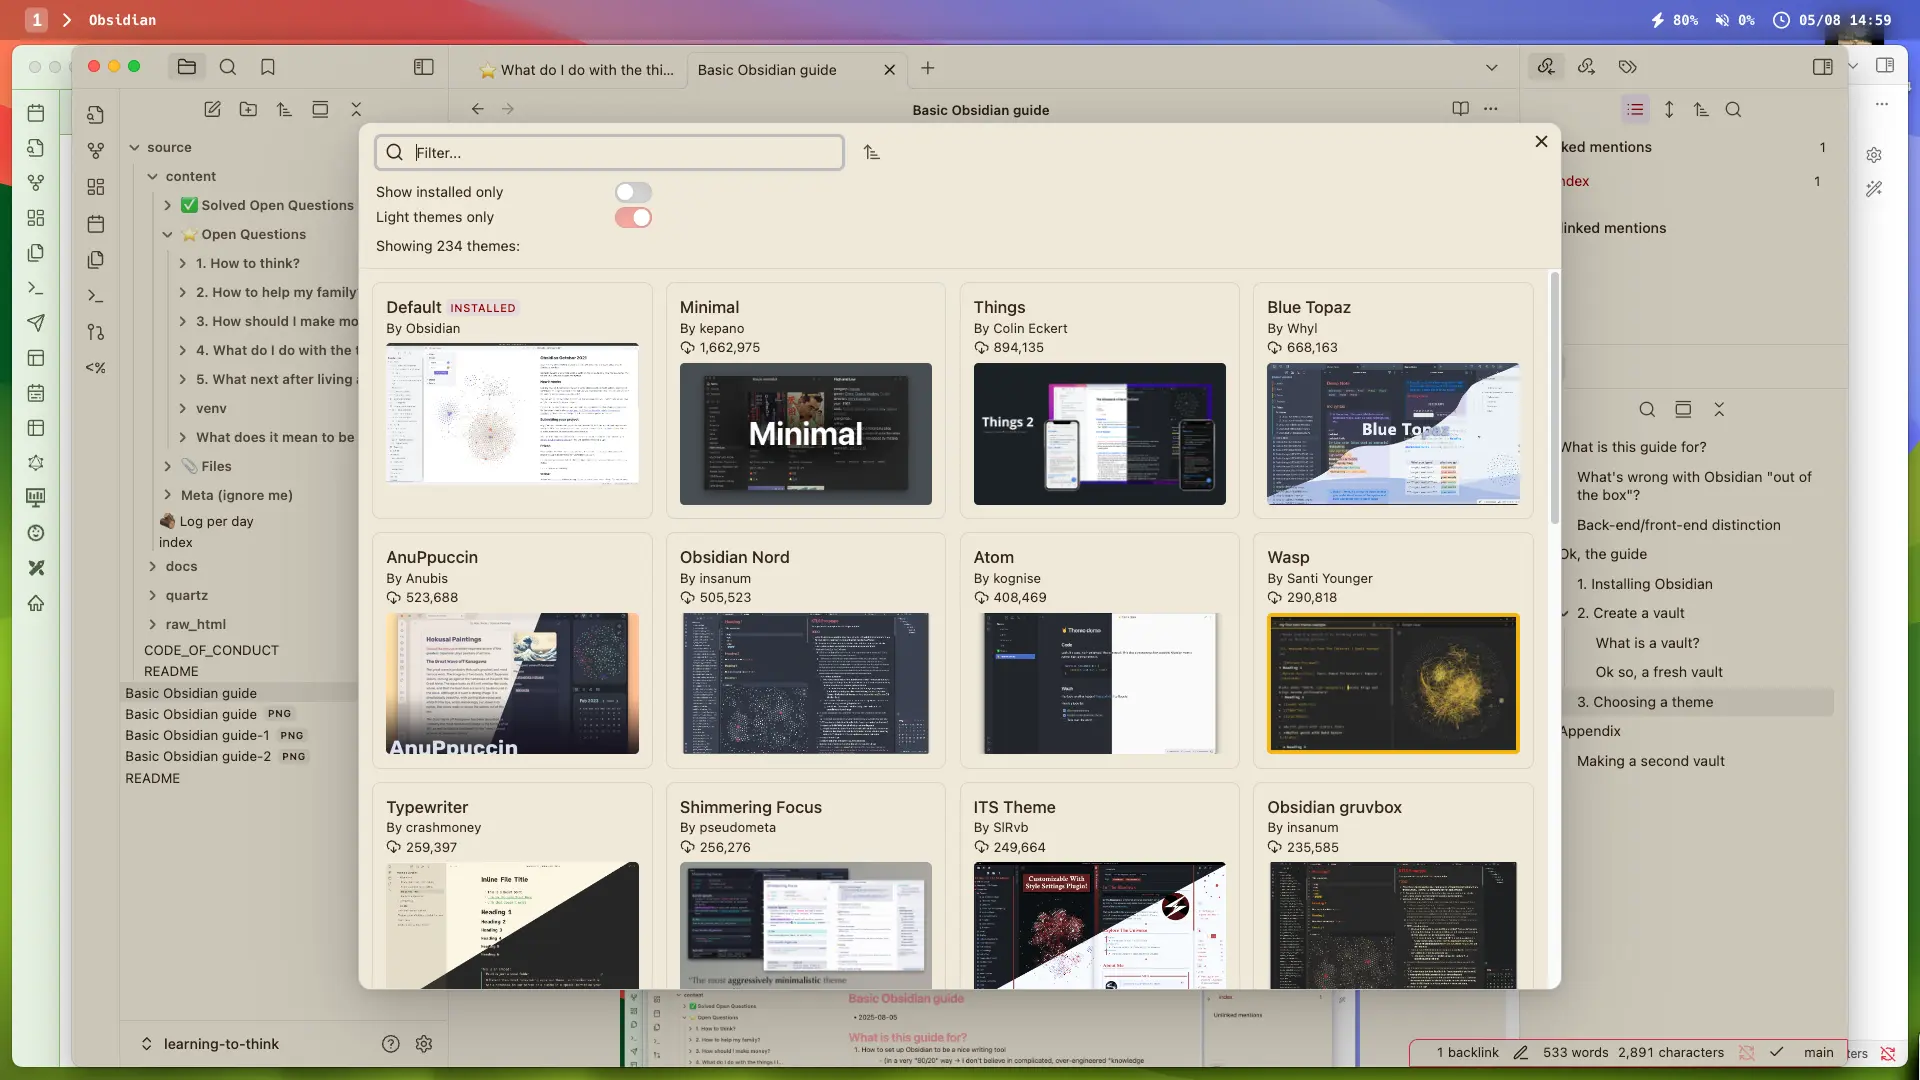
Also, unlike Quartz, where changing the aesthetic involves altering the CSS file(s) yourself, Obsidian has a built-in theme gallery - you just find one you like an install it, easy
-
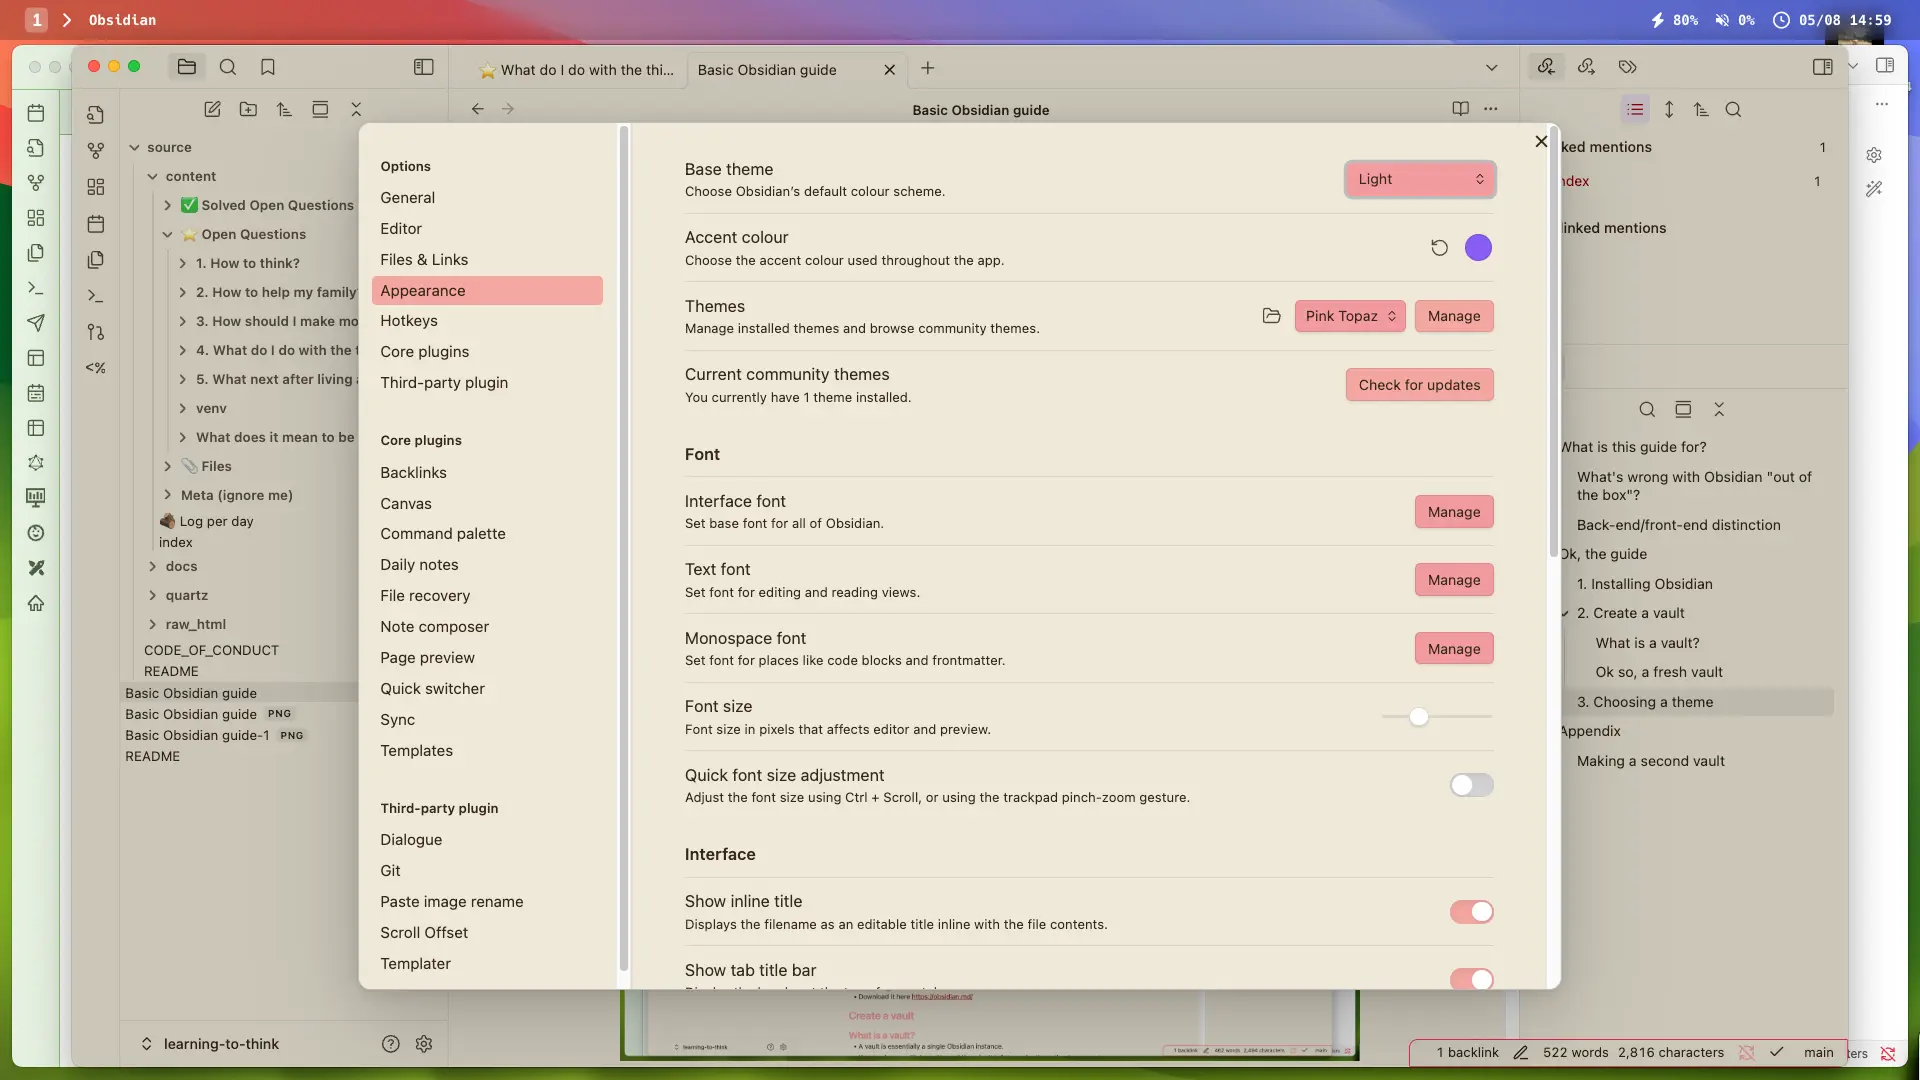
Press “command/control + ,” to go to the settings (or, click the cog)
-
Go to appearance → themes → manage
-
-
Now you can browse the themes
-
-
Here are the themes I use:
Pink Topaz (for this website)

- ☝️ Pink Topaz, for my website vault. I like a “light mode” theme, but hate staring at bright white, so I found this one to be a nice soft pink and sepia vibe, feels conducive to writng
Material Gruvbox (for my 2025 vault)
Solarized (Dark Mode)
Prism (for my contractor job)
4. Write! (With markdown)
- In Obsidian, every note is .md (markdown)
- See this formatting guide
5. Essential features
1. Essential keyboard shortcuts/features
- Command/control + N = new note
- Command/control + O = open/search file name
- Command/control + P = “command palette”
- Command/control + , = settings
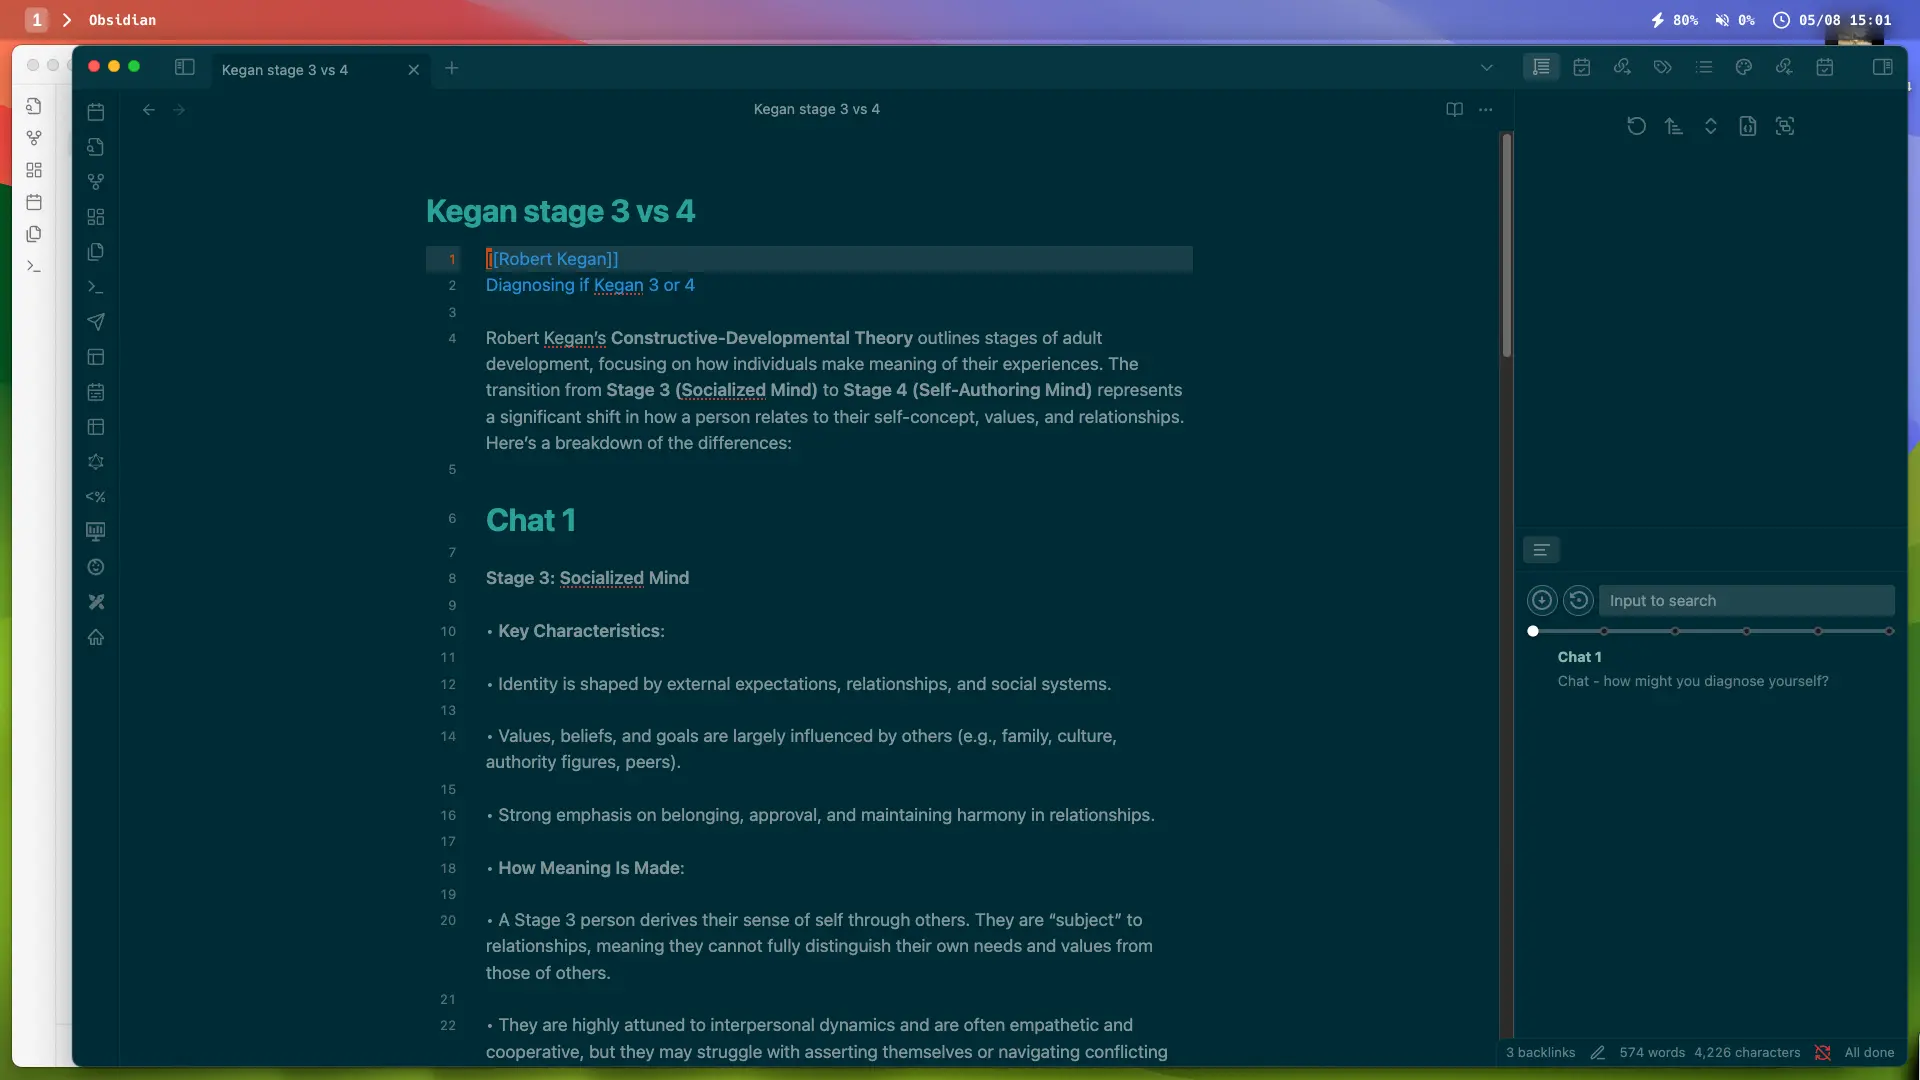
- Connect one page to another with the
[[double square brackets]]notation
Note - maybe stop here!
-
The below are quality of life things
-
But they’re probably not worth bothering with until you find that your life is lacking quality due to little niggles
-
I would probably recommend pausing here, enjoying your pretty Obsidian, and writing something
-
Then, Obsidian Guide - Phase 2 - A slightly more intentional infrastructure